The wall button is the main interface between you and your garage door opener. When it stops working, it can prevent your door from opening or closing, cause intermittent operation, or lead to unsafe conditions. Wall button issues are common, but they can often be fixed without replacing the entire opener. This comprehensive guide from GarageFL will help you troubleshoot, repair, and prevent wall button problems safely and effectively.
Understanding the garage door wall button
Garage door wall buttons are typically low-voltage switches that send signals to the opener motor. Pressing the button completes an electrical circuit, instructing the motor to open or close the door. Common issues with wall buttons include unresponsiveness, sticking, or inconsistent operation. Identifying the underlying cause is key to a proper fix.
Step 1: Inspect the wall button and wiring
Begin by examining the wall button itself. Check for visible damage, cracks, or loose components. Remove the button cover and inspect the wires:
- Look for frayed, disconnected, or corroded wires.
- Ensure screws securing the wires to terminals are tight.
- Confirm that wires are not pinched or crushed in the wall.
Loose or damaged wiring is a common reason for wall button failure and can often be repaired by tightening connections or replacing damaged wires.
Step 2: Test the wall button with a multimeter
Using a multimeter, you can test whether the wall button is completing the circuit correctly. Set the multimeter to continuity mode and touch the probes to the terminals on the button:
- Press the button; the multimeter should indicate continuity (a complete circuit).
- If there's no continuity when the button is pressed, the switch is likely defective and needs replacement.
Testing helps differentiate between a faulty button and wiring or opener issues, ensuring you address the correct problem.
Step 3: Check the garage door opener
If the wall button and wiring are in good condition, the problem may lie with the opener itself. Check for these signs:
- Opener does not respond to remote control or wall button.
- Motor hums but door does not move.
- Lights on the opener flash or indicate error codes.
Consult the opener's user manual for error codes and troubleshooting steps. Many modern openers include reset procedures or require sensor realignment to restore functionality.
Step 4: Test the safety sensors
Wall button operation can be affected by malfunctioning safety sensors. These sensors, located near the bottom of the door tracks, prevent the door from closing if an object is detected in the path. Test the sensors:
- Ensure both sensors are powered and the LED lights are on.
- Clean sensor lenses to remove dust or debris.
- Align sensors so the beams face each other correctly.
Misaligned or blocked sensors can prevent the opener from responding to the wall button, so ensure they are properly positioned and functional.
Step 5: Replace a faulty wall button
If testing reveals a defective switch, replacement is straightforward. Purchase a compatible wall button for your garage door opener model. To replace:
- Turn off power to the opener at the breaker.
- Disconnect the old wall button wires.
- Connect the new button wires to the terminals, securing them tightly.
- Attach the cover and restore power to the opener.
- Test the button to ensure proper operation.
Most wall button replacements are inexpensive and can restore full functionality quickly.
Step 6: Inspect and secure wiring in the wall
Sometimes, the issue lies within the wiring running between the wall button and opener. Look for:
- Wire insulation damage from pests, moisture, or wear.
- Loose connections at the opener or junction boxes.
- Pinched or kinked wires that may interrupt the circuit.
Repair any damaged wiring using wire nuts, electrical tape, or replacement wire. Always turn off power before handling wiring, and ensure connections are secure to prevent future failures.
Step 7: Reset the garage door opener
After addressing the wall button and wiring, reset the opener to ensure proper communication:
- Locate the reset button on the opener motor.
- Press and hold the button as instructed in the manual.
- Test both the wall button and remote to confirm correct operation.
Resetting clears any errors or glitches in the opener's control board, restoring reliable operation.
Step 8: Upgrade to a smart wall button or wireless control
Modern garage door openers offer smart wall buttons and wireless keypads for added convenience and reliability. These upgrades provide:
- Improved functionality and reduced wear on traditional buttons.
- Remote monitoring and control via smartphone apps.
- Integration with home automation systems for added security.
Smart wall buttons can prevent common issues and enhance overall garage door system efficiency.
Step 9: Perform regular maintenance
Prevent future wall button problems with routine maintenance:
- Inspect the wall button and wiring periodically.
- Clean contacts and remove dust buildup.
- Check the opener and sensors for proper operation.
- Lubricate moving parts of the garage door to reduce strain on the opener.
Routine maintenance ensures consistent performance and extends the lifespan of both the wall button and opener.
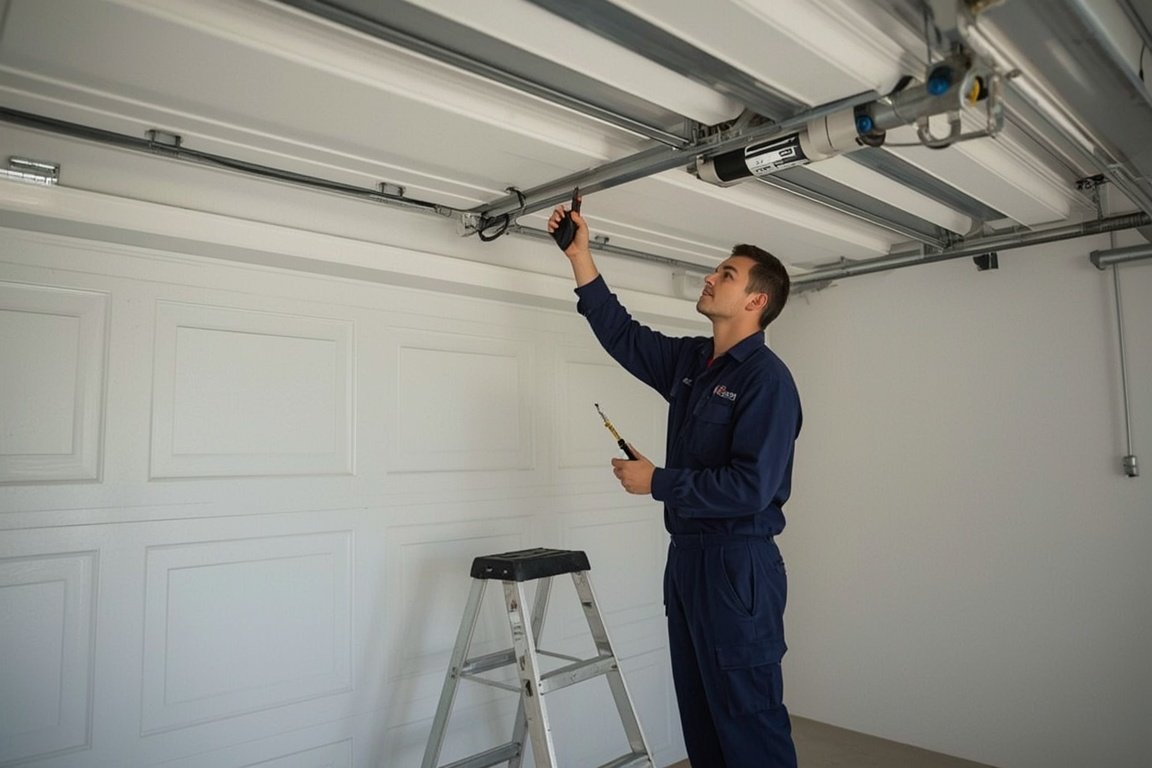
Step 10: Call a professional for persistent issues
If the wall button still fails after troubleshooting, it may indicate a deeper electrical or opener issue. GarageFL provides professional garage door repair services, including wiring inspection, opener diagnostics, and component replacement. Certified technicians ensure safe, efficient, and long-lasting repairs, reducing the risk of injury or further damage.
Final thoughts
Garage door wall button issues are common but usually fixable with careful inspection and maintenance. Start by checking the button and wiring, test for continuity, inspect sensors, and replace faulty components as needed. Regular maintenance and timely repairs prevent interruptions, ensure safety, and keep your garage door operating smoothly. For complex or persistent problems, professional assistance from GarageFL guarantees reliable results and peace of mind. By following these steps, you can restore your wall button functionality and maintain a safe, efficient garage door system.
Skip the YouTube rabbit hole - we'll have a tech at your door same day across Broward, Dade and Palm Beach.