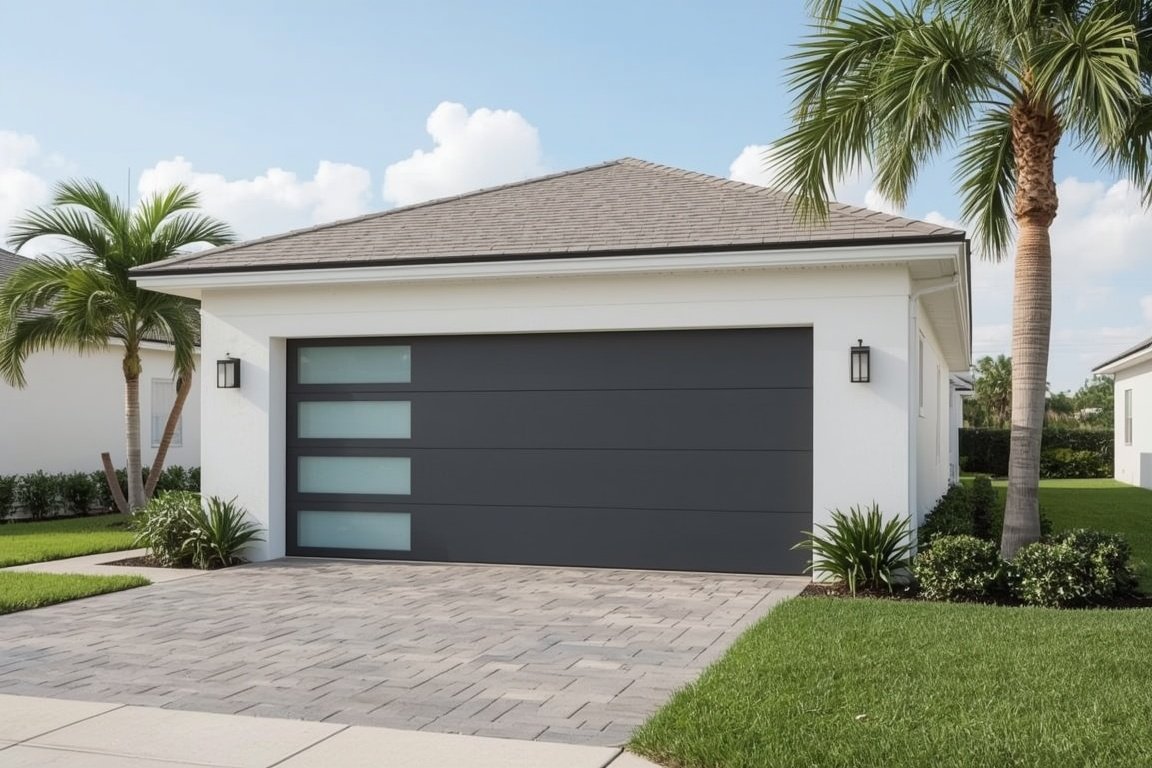
Installing a new garage door is one of the most impactful upgrades you can make to your home. It enhances curb appeal, improves energy efficiency, and boosts security. However, before your new door arrives, proper preparation is essential. A well-prepared garage ensures a smoother, safer, and faster installation process - helping you avoid unexpected delays, extra costs, or post-installation issues. In this detailed 1000-word guide, we'll walk you through exactly how to prepare your garage for a new door installation, step by step.
Why preparation matters before a new garage door installation
Many homeowners assume that once the installer shows up, the process is simple - remove the old door, install the new one, and you're done. But skipping preparation can lead to problems such as misaligned tracks, poor door performance, or even safety risks. Preparing your space helps installers work efficiently, protects your belongings from damage, and ensures your new garage door operates perfectly from day one.
Step 1: Clear out the garage space
The first step is to create enough room for the installers to move freely and safely. Garage door professionals typically need at least 3 to 4 feet of clear space around the door's frame and overhead area. Remove cars, bikes, storage bins, and any other items that might block access.
- Move all vehicles out of the garage before the installation appointment.
- Clear the area near the walls and ceiling where tracks and torsion springs will be mounted.
- Cover nearby tools or furniture with plastic sheets if you can't move them.
Doing this ensures the installers can bring in equipment, remove old hardware, and install the new system without damaging your belongings.
Step 2: Inspect your garage structure
Before your new garage door goes in, inspect the area for structural issues. Check the header (the beam above the door opening) for signs of rot, sagging, or cracks. Examine the side jambs and ensure they're sturdy enough to hold the new tracks. If your garage is older, look for termite damage or water stains that might indicate wood deterioration. Fixing these issues ahead of time helps your new door fit securely and prevents alignment problems later.
Step 3: Measure accurately
Accurate measurements are crucial for ordering the right-sized door. Even small measurement errors can cause major installation issues. Measure:
- Width and height: Measure the garage door opening at multiple points to confirm consistency.
- Side room: The space between the opening and side walls - needed for tracks and brackets.
- Headroom: The space from the top of the door to the ceiling - vital for springs and openers.
- Backroom: The depth from the opening to the back wall - necessary for the door to retract fully.
At GarageFL, our technicians double-check these measurements to guarantee a perfect fit and prevent costly resizing errors.
Step 4: Check your electrical setup
If you're installing a new electric garage door opener or upgrading to a smart system, you'll need proper electrical wiring and outlets. Verify that a grounded electrical outlet is available near the center of your garage ceiling. If not, hire a licensed electrician to install one before your new door arrives. Avoid using extension cords for permanent power - they're a fire hazard and can damage the opener motor over time. Additionally, check your circuit breaker to ensure it can handle the new load requirements.
Step 5: Remove old or outdated hardware
Old brackets, hinges, or tracks from your existing garage door may not be compatible with your new model. Don't assume you can reuse them. Remove these components carefully or let your installer handle it as part of the replacement. If your previous system had rusted metal or warped tracks, make sure everything is disposed of properly to make way for new, safe hardware.
Step 6: Clean and prep the garage floor and walls
Dust, debris, and cobwebs can interfere with installation and operation. Sweep the entire floor and clean around the door frame. If your garage has oil stains or moisture buildup, take this opportunity to clean and dry the area thoroughly. Inspect the concrete threshold for cracks or uneven areas that could affect how the new door seals against the ground. Repairing the floor before installation helps the new weather seal sit evenly and prevents water intrusion.
Step 7: Consider insulation and weatherproofing
If you're installing a new garage door, it's a great time to think about insulation. Insulated doors regulate temperature, reduce energy costs, and protect your belongings from Florida's heat and humidity. You can also add weatherstripping to the side and top edges for a tighter seal. Check your existing door frame for gaps and replace worn-out rubber bottom seals. A well-insulated and weatherproofed garage improves comfort and extends the life of your new door.
Step 8: Plan for opener compatibility
Modern garage doors often feature smart technology - Wi-Fi connectivity, smartphone control, and motion sensors. Ensure your current opener is compatible with the new door. If it's outdated or underpowered, it might struggle to lift a heavier insulated model. GarageFL professionals can help you choose an opener with the right horsepower and safety features for your setup. Consider upgrading to a quiet belt-drive opener with built-in LED lighting for better energy efficiency and convenience.
Step 9: Check ventilation and lighting
While prepping your garage for a new door, evaluate your ventilation and lighting. A sealed garage can trap heat and humidity, especially in Florida's climate. Ensure vents or windows allow adequate airflow. Good lighting also helps installers see clearly and enhances long-term safety when operating or maintaining your new door. If you have fluorescent bulbs, consider switching to bright LED fixtures that consume less power and last longer.
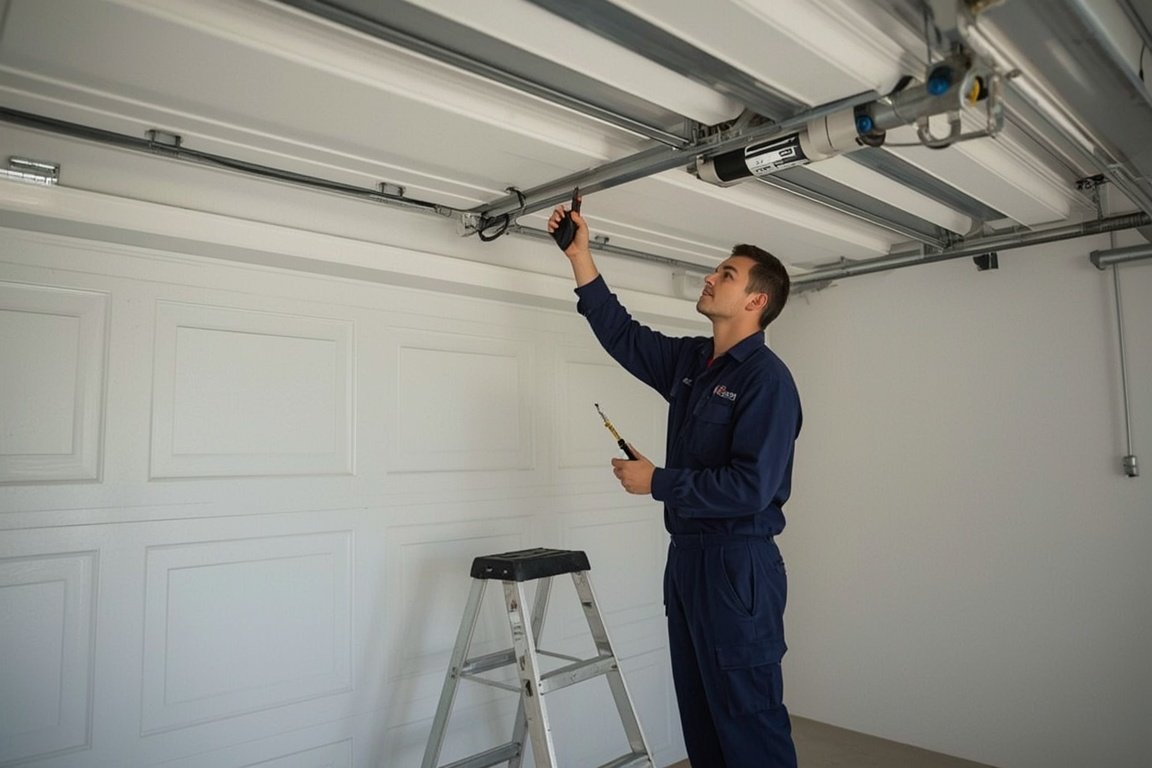
Step 10: Schedule a pre-installation inspection
Before installation day, schedule a quick visit from your garage door professional. At GarageFL, we perform a pre-installation inspection to verify that your space is ready. We'll check the structure, electrical setup, and measurements, then confirm that the new door model you've selected will fit seamlessly. This proactive step prevents surprises and ensures a smooth installation process from start to finish.
Extra tips for smooth installation
- Keep children and pets away during installation for safety.
- Confirm that delivery paths and driveways are clear for installers' vehicles.
- Ask your installer about old door disposal options - they may remove it for you.
- Double-check your order for correct color, design, and window placement.
- Take before-and-after photos for warranty and insurance records.
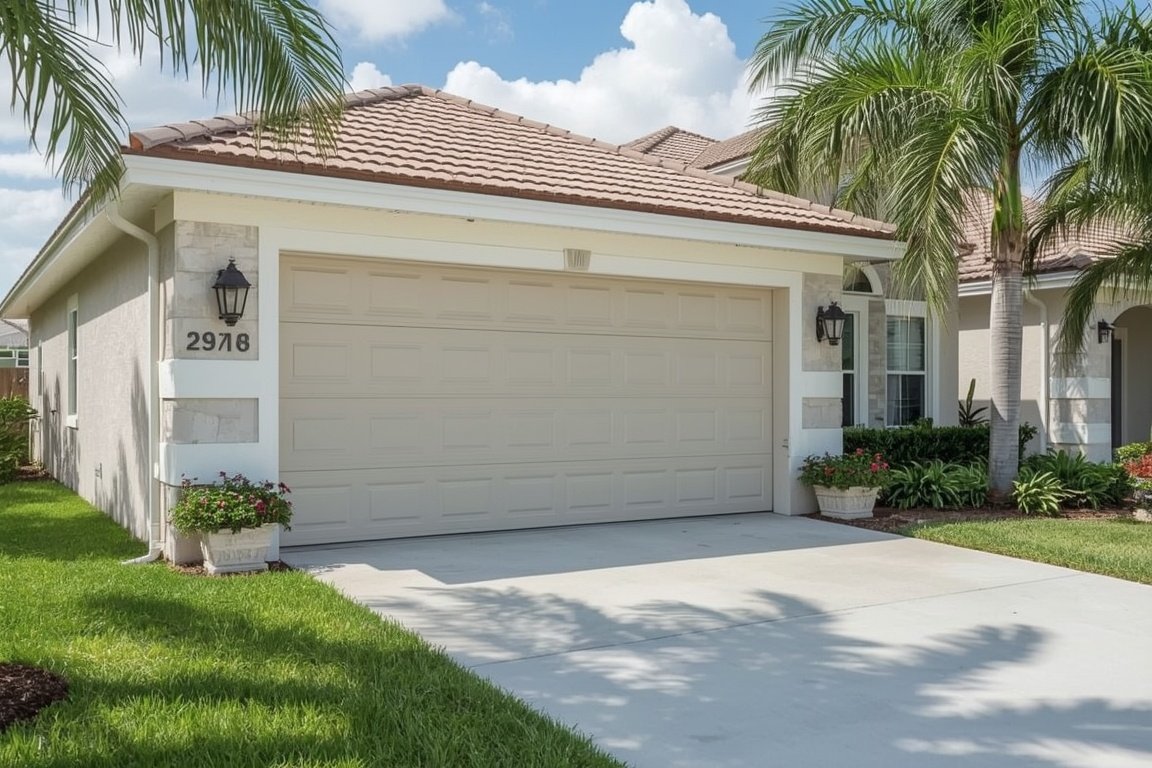
Final thoughts
Preparing your garage for a new door is about more than just making space - it's about setting the stage for long-term performance, safety, and satisfaction. By inspecting your structure, measuring carefully, ensuring proper electrical setup, and cleaning the workspace, you help your installers do their best work efficiently and safely. With professional guidance from GarageFL, you can enjoy a seamless installation and a beautiful, functional new garage door that enhances your home's value and security. Take the time to prepare now, and your new door will serve you flawlessly for years to come.
Skip the YouTube rabbit hole - we'll have a tech at your door same day across Broward, Dade and Palm Beach.